

How to Connect a Printer to Wi-Fi Without the Hassle
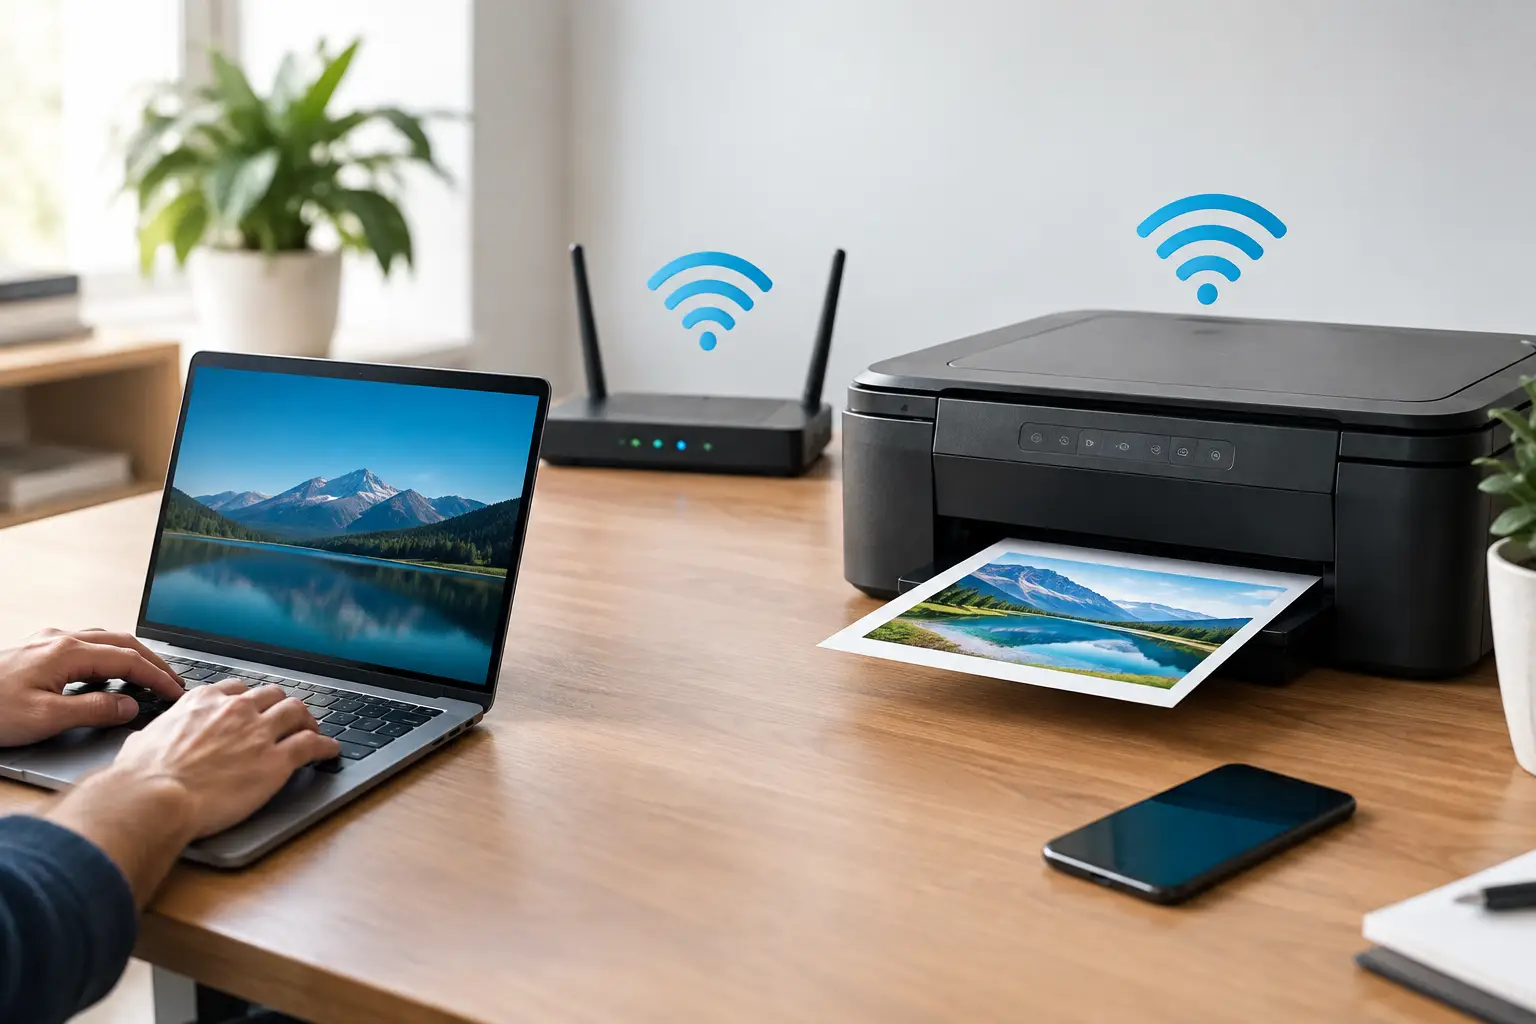
A printer connected to a single computer with a cable can limit everyone around it. Once you know how to connect a printer to a wireless network, you can print from a laptop, phone, tablet, or multiple workstations at the same time—without running cables or being tied to one room. The setup is usually quick, but choosing the right method can help prevent connection problems, stalled print jobs, and the hassle of trying to find your printer.
Before You Connect: What to Check
First, make sure your printer supports wireless connectivity. On most newer models, this is listed in the specifications as Wi-Fi, wireless, or network connectivity. Some printers also support Wi-Fi Direct, which lets a device connect directly to the printer without a router. However, this is not always the most convenient option for home or office use.
Have your Wi-Fi network name and password ready. If your router broadcasts two networks—one on the 2.4 GHz band and another on the 5 GHz band—check your printer’s specifications to see which bands it supports. Many printers, particularly older or entry-level models, only connect to 2.4 GHz networks. Trying to connect one to a 5 GHz network will usually fail, even if the password is correct.
It’s also important to place the printer where it can get a stable Wi-Fi signal. If your phone struggles to connect near the printer, the printer’s connection may be unreliable too. In a large office, warehouse, or home with signal-blocking walls, a second access point, a mesh Wi-Fi system, or a wired network connection may be a better choice than Wi-Fi.
How to Connect a Printer to Wi-Fi Using Its Display
This is the recommended method for most printers with a touchscreen or a display and navigation buttons. Because it doesn’t rely on a specific computer, it’s especially useful when you want the printer to be available to multiple users.
- Turn on the printer and wait for it to finish starting up.
- Open the settings menu, usually marked with a gear icon or listed as “Network,” “Wireless,” or “Wi-Fi Settings.”
- Select the wireless network setup wizard or the option to search for available networks.
- Choose the correct network from the list and enter its password exactly as it’s set on your router.
- Confirm the connection and wait for a success message or a steady Wi-Fi icon on the printer’s display.
After connecting, print a network configuration report if your printer offers that option. The report will show the printer’s IP address, the network it’s connected to, and sometimes the signal strength. These details can be helpful if you need to troubleshoot a problem later.
For printers without a display, setup may involve pressing a wireless button, holding down a combination of buttons, or using the manufacturer’s setup app. In that case, check the quick-start guide that came with the printer or follow the instructions in the app.
Connecting with WPS: Quick, but Not Always the Best Option
Some routers and printers have a WPS button. Pressing it opens a short window during which the two devices can connect without requiring you to enter a password. Depending on the manufacturer’s instructions, you’ll usually press the WPS button on the printer and then the corresponding button on the router, or vice versa.
WPS is convenient if your printer has no display or your network password is especially long. However, not all routers support WPS, and some disable it for security reasons. If the button isn’t active or the connection doesn’t succeed within about two minutes, use the printer’s display or setup app instead of repeatedly trying WPS.
Adding the Printer to Your Computer
Connecting the printer to Wi-Fi is only half the job. Next, add it to the computer you want to print from. If the computer and printer are on the same network, up-to-date operating systems will often detect the printer automatically.
On a Windows computer, open Settings, go to Printers & scanners, and select Add device. Wait for the scan to finish, then choose your printer from the list. If it doesn’t appear, select the option indicating that the printer isn’t listed and add it by IP address or use the manufacturer’s setup software.
On a Mac, open System Settings, go to Printers & Scanners, and click Add Printer. In most cases, the printer will appear under available devices. Select it, wait for the correct driver to install, and print a test page.
If your home has different types of computers, you don’t need to set up the printer through a single computer acting as a “server.” A properly configured network printer connects directly to the router, and each authorized computer on the network can add it independently. That’s a major advantage over a printer connected to a desktop computer via USB.
Printing from a Phone or Tablet
Most modern wireless printers also make it easy to print from mobile devices. On many phones, you can select a printer directly from the sharing menu for a photo, file, or document. You may need to enable a printing service in your device settings or install the printer manufacturer’s app.
To avoid connection issues, make sure your phone is connected to the same Wi-Fi network as the printer. Connecting your phone to a guest network is a common reason the printer doesn’t appear in the list. Guest networks sometimes isolate devices for security, preventing them from communicating with one another.
At home, mobile printing is especially handy for photos, schoolwork, PDFs, and boarding passes. For a small business, check in advance that the printer supports features such as user management, network scanning, or secure printing if they’re part of your regular workflow.
Can’t Connect the Printer? Check These Four Common Causes
In most cases, a connection problem doesn’t mean the printer is faulty. It’s usually caused by a network setting, an incorrect password, or a poor location.
- Incorrect network password: Enter it again, checking uppercase and lowercase letters, numbers, and special characters. It’s easy to make a mistake when typing on a small printer keypad.
- Unsupported frequency band: Try connecting to the 2.4 GHz network. If your router uses the same name for both bands, you may need to temporarily give them separate names in the router settings.
- Too far from the router: Move the printer closer to the router to test the connection. If it only connects nearby, you’ll need to improve the signal where the printer is normally located.
- Router or password change: After changing internet providers, replacing your router, or updating your Wi-Fi password, the printer won’t update its settings automatically. Remove the old network settings and connect again.
If the printer is connected to the network but doesn’t appear on your computer, restart the printer, router, and computer. Then make sure all the devices are on the same network and that a VPN isn’t running on the computer. A VPN can prevent your computer from discovering devices on your local network.
When to Choose a Wired Connection Instead
Wi-Fi works well in most homes and flexible workspaces, but it isn’t always the best option. For an office printer used for high-volume printing, a printer located far from the router, or a busy wireless environment, a wired Ethernet connection may be more reliable. It can reduce disconnections and keep the printer available even during temporary Wi-Fi issues.
When choosing a new printer, match its features to the way you plan to use it. For occasional home printing, a compact wireless printer with mobile printing support may be all you need. For a family that prints frequently or a small business, consider a model with an automatic document feeder, duplex printing, network scanning, and a low cost per page. At TopMarket, you can compare models by connectivity, ink or toner type, print speed, and other office features.
Once setup is complete, print a test document and set the printer as the default on the computers you use most often. This simple step makes the printer a genuinely convenient, ready-to-use device—not just something sitting in the corner when you need to print.