

How to Install a Home Security Camera: A Practical Guide
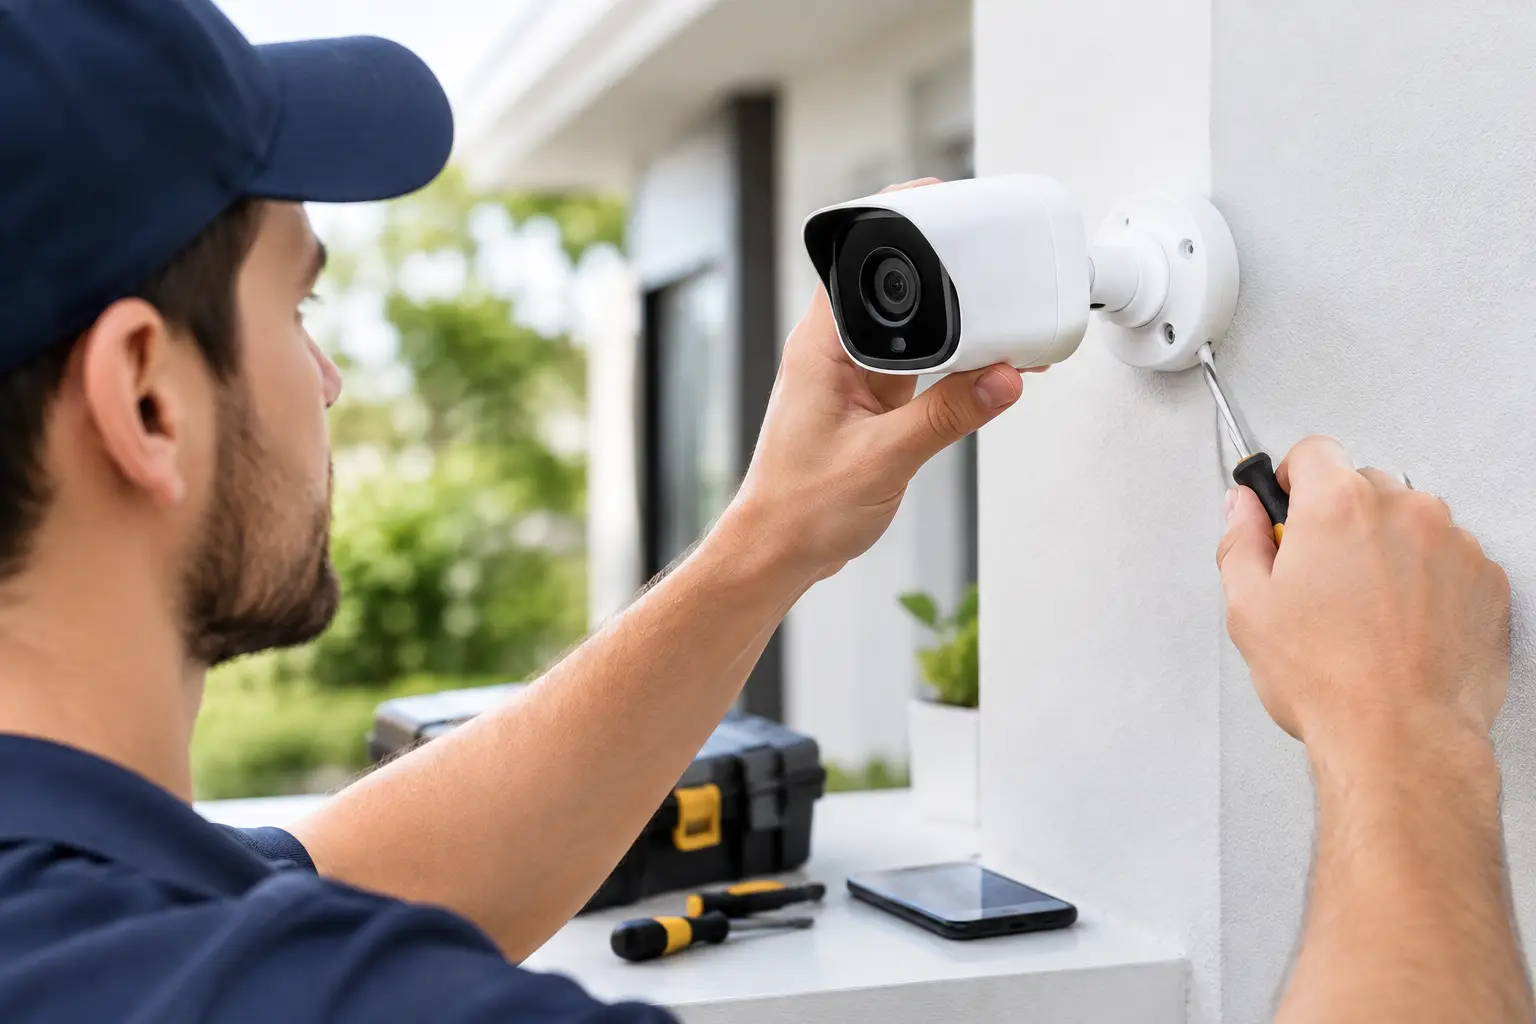
Your front door, private parking area, storage room, or child’s bedroom are all places where a security camera can provide useful footage and peace of mind. But learning how to install a home security camera properly involves more than taking it out of the box and mounting it on a wall. Poor placement, a weak Wi-Fi signal, or a default password can turn even a high-quality camera into only a partial solution.
The goal is to create a system that suits your home and daily routine: a camera that covers the right area, sends relevant alerts, saves recordings when needed, and is easy to access from your phone without compromising data security.
Before You Begin: Choose a Camera for Its Installation Location
The first step is not drilling—it’s choosing a camera that suits the location. An indoor camera is generally suitable for monitoring living spaces, pets, or an apartment entrance. An outdoor camera needs to withstand weather, dust, and moisture, so check that it has an appropriate ingress protection rating, such as IP65 or IP66.
Power source matters, too. A plug-in camera is a good choice if you want continuous operation without recharging, provided there is a nearby outlet or a practical way to route the cable. A battery-powered camera offers more flexibility, especially at an entrance or in a parking area, but you’ll need to keep an eye on its charge level. In some cases, a solar panel can reduce the need for manual charging, as long as it’s installed in a spot that receives enough sunlight.
For most homes, a Wi-Fi camera is the simplest option. However, if the camera is far from the router, behind concrete walls, or in an area with poor reception, you may need a range extender, a more capable mesh Wi-Fi system, or a wired network connection. A security camera can’t make up for an unreliable network.
Where to Install a Home Security Camera
A good location gives you a clear view of what’s happening without triggering unnecessary alerts or leaving the camera easily accessible to tampering. At a home entrance, consider mounting the camera about 2.2 to 2.8 meters (7.2 to 9.2 feet) high, angled to cover both the door and the approach. This makes the camera harder to reach while still allowing you to identify faces—not just see the top of someone’s head.
For an outdoor camera, avoid pointing it directly at the sun, a streetlight, or a busy road. Bright light shining into the lens can create silhouettes and obscure important details. If you can’t avoid the light source, look for a camera with wide dynamic range or adjust the angle to keep direct light out of the lens.
A camera monitoring a parking area should cover the entrance gate and the vehicle, but it doesn’t need to capture the entire street. Recording a public sidewalk or a neighbor’s windows may raise privacy concerns and fill your event history with irrelevant footage. Limiting the field of view to the area you’re responsible for makes alerts more useful and recordings easier to review.
Indoors, avoid placing a camera opposite a window. During the day, the difference in brightness between outdoors and the room can affect exposure, while at night, reflections may interfere with infrared illumination. Instead, mount it in a corner of the room, on a stable wall, facing a walkway or the area you want to monitor.
How to Install a Home Security Camera Step by Step
Before working at height or drilling into a wall, charge the battery if the camera has one, download the manufacturer’s app, and check that the camera connects to your home network from the intended location. This quick test can save you from having to reinstall it if the signal is weak.
- Unpack the camera and check that you have the camera, base or mounting bracket, screws, wall anchors, power or charging cable, and manufacturer’s instructions. You’ll also need a drill and screwdriver, a small level, and a pencil for marking.
- Connect the camera to power or fully charge it. Turn it on, install the app, and add the camera to your account using a QR code, Bluetooth, or the setup method specified by the manufacturer.
- Connect it to your wireless network. Many models require a 2.4 GHz network during setup, while some also support 5 GHz. Check the specifications before you begin, especially if your router combines both bands under a single network name.
- Hold the camera in the planned position and use your phone to check the image, signal strength, and viewing angle. Walk through the monitored area and make sure faces remain clear in both daylight and at night.
- Mark the mounting holes, drill them, and insert wall anchors suited to the wall type. For drywall, use appropriate drywall anchors or attach the bracket to a stud if the camera’s weight and the wall structure require it. Secure the bracket without overtightening, which could crack plastic parts or compromise the weather seal.
- Attach the camera to the bracket, adjust the angle, and check the image in the app again. For a wired camera, route the cable through conduit or along a protected path. A cable left exposed, stretched tight, or near water is not a safe or reliable solution.
- If you’re using a memory card, insert it while the camera is off and follow the manufacturer’s instructions. Make sure its capacity suits your recording quality and desired retention period. Higher-resolution recordings capture more detail but fill storage faster.
Set Up Alerts and Recording Without Overloading Your Phone
Once the camera is physically installed, its settings are what make it truly useful. Turn on motion detection and, if available, person, vehicle, or package detection. Broad settings may alert you to every cat, branch, or change in lighting. Settings that are too restrictive may cause you to miss an important event.
Most cameras let you define activity zones. At an entrance, for example, you can include the path and door while excluding the road, trees, or a neighbor’s window. Start with medium sensitivity, use the camera for two or three days, and then adjust it based on the number of alerts and the accuracy of detection.
Choose a storage method, too. A local memory card keeps recordings at home and may not require a subscription, but if the camera is stolen, the card may go with it. Cloud storage lets you access recordings even if the camera is damaged, but may involve a monthly fee and depends on an internet connection. For especially important areas, combining local and cloud storage provides an extra layer of backup.
Data Security and Privacy: Part of the Installation, Not an Extra
A connected security camera is also a network device. Change the default password right away, choose a long and unique password, and enable two-factor authentication if the app offers it. Keep the camera’s firmware up to date, as updates can fix security issues and improve reliability.
If your router supports it, consider setting up a separate Wi-Fi network for cameras, guests, or smart-home devices. This helps prevent a guest’s device from having direct access to your computers, phones, or home storage. If you have several cameras, a network switch, a small UPS, or a quality router may be a more practical investment than upgrading a single camera.
For privacy, don’t aim a camera in a way that unnecessarily monitors neighbors or captures the inside of their homes. If a camera is installed in a place where employees, caregivers, or guests regularly spend time, being transparent about its presence is the responsible choice. Never install cameras in bathrooms, restrooms, or other highly private areas.
Checks to Perform After Installation
On installation day, trigger a test alert and make sure it reaches your phone. Then check the camera at night, when infrared illumination is active, and confirm that license plates, faces, or the key entrance are visible clearly enough for your needs. A high resolution on paper doesn’t guarantee reliable identification if the lens is too far from the subject.
Test what happens during a power outage or internet failure, too. A battery-powered camera may continue recording locally, but without a network connection, you won’t receive real-time alerts. A plug-in camera will stop working without backup power. If you need continuous coverage, consider a UPS for your router and recording equipment, based on their power consumption and the backup time you need.
Gently clean the lens every few weeks, especially on outdoor cameras. Dust, water droplets, and spiderwebs can significantly reduce image quality and may even trigger false alerts at night. Once a month, open a random recording to make sure storage is working and there isn’t an unnoticed connection problem.
A good security camera isn’t judged solely by its megapixel count or sale price. Installed at the right height, connected to a stable network, and configured to suit your home, it can provide clear footage exactly when you need it.